Inserting static text
Text tool
The  Text tool allows you to insert a text into the
  Graphics View. You can find the Text tool in the Toolbox of Special Object Tools.
Text tool allows you to insert a text into the Graphics View. You can find the Text tool in the Toolbox of Special Object Tools. 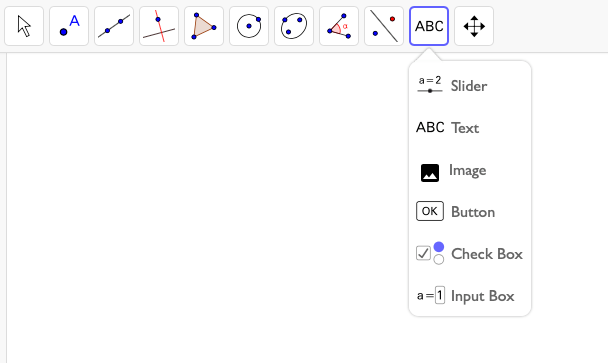
Select the Text tool and click in the Graphics View to specify the position of the text's lower left corner. Then, enter the desired text in the appearing text dialog window. Click OK when you are done.
Text tool and click in the Graphics View to specify the position of the text's lower left corner. Then, enter the desired text in the appearing text dialog window. Click OK when you are done.The Text dialog
The Text dialog allows you to...
- enter the desired text and change its formatting
- enter a LaTeX formula
- Preview: Shows you a preview of your text.
 Objects: Provides a list of available objects for creating dynamic text.
- : Provides Greek letters, mathematical symbols, and special characters to use in your text.
- LaTeX formula: Provides the syntax for a selection of LaTeX formulas.
How to insert static text
A static text always stays the same and does not refer to any GeoGebra objects used in the construction.
| 1. |  | Select the Text tool and click in the upper part of the Graphics View. |
| 2. | Enter Explore the Area of a Square into the text field.
Hint: You can change the formatting of the text using the buttons provided above the text field.
| |
| 3. | Click on Advanced to see a Preview of your text. | |
| 4. | Click OK when you are done. | |
| 5. |  | Move the text to the desired position. |
| 6. | | You can change the formatting of your text using the Style Bar. |
| 7. |  | You can fix the text using the |
Try it yourself...
Editing and formatting text
The inserted and selected text can be edited at any time on tab Text of the  Settings, which is accessible via the
  Style Bar.
You can format the inserted text using the Style Bar (e.g. font style, font size, color of text and background).
Hint: More formatting options are available in the Settings.
Style Bar.
You can format the inserted text using the Style Bar (e.g. font style, font size, color of text and background).
Hint: More formatting options are available in the Settings.
Settings, which is accessible via the Settings.How to attach text to objects
Attach text to an object, so that it moves along when the object is modified.
| 1. | | Select the text Free point. |
| 2. |  | Open the Settings for this text using the |
| 3. | | Click on tab Position and select the blue point A as the Starting Point. |
| 4. |  | Move the blue point A and check whether the text moves along. |
| 5. | | Attach the text Point on the line to the red point B. |
| 6. | | Move the red point B and check whether the text moves along. |