GeoGebra圖檔上傳
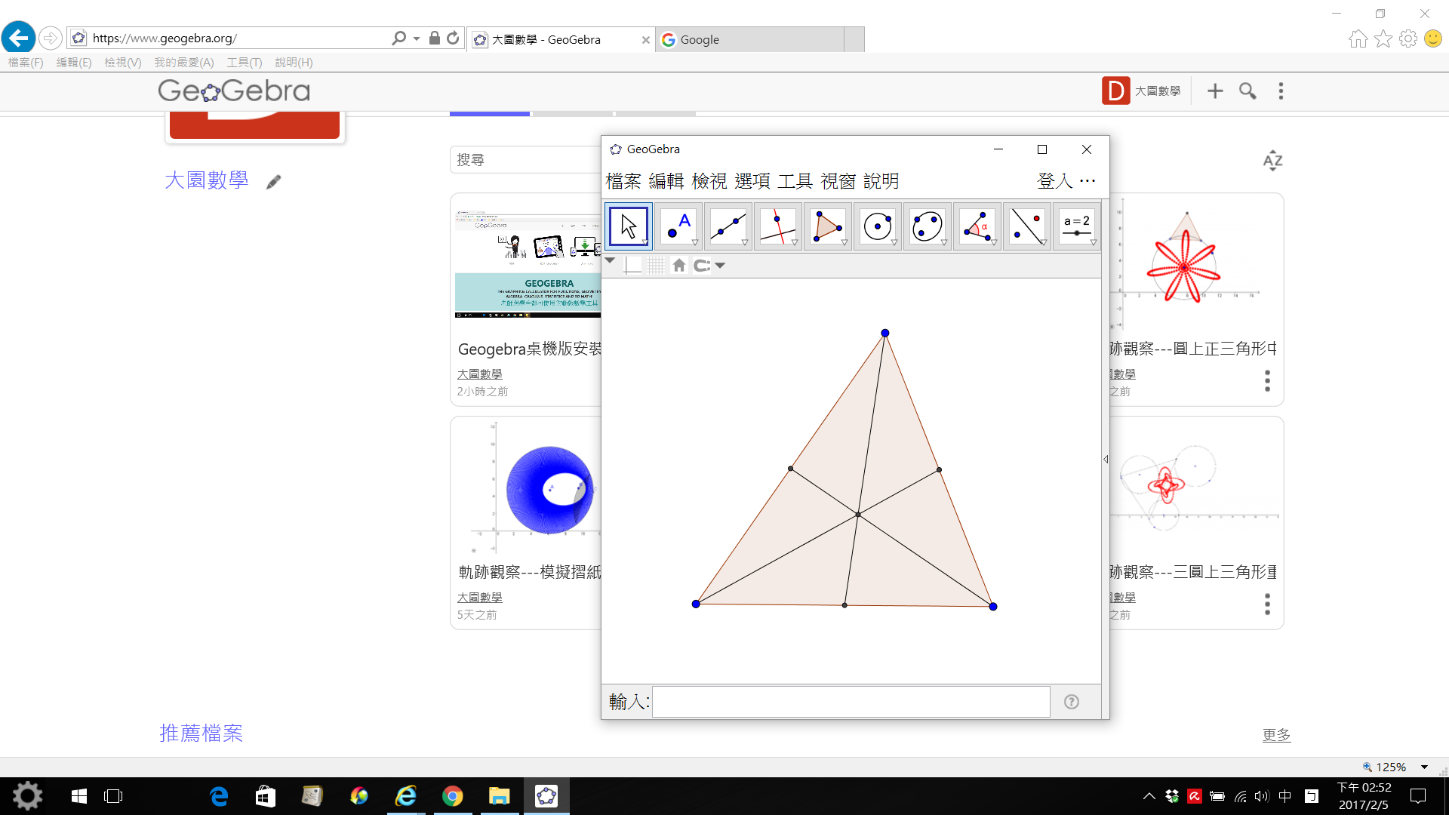
Step1: 利用GeoGebra製作好圖檔,並調整好畫面大小。
Step2: 輸入帳號及密碼,登入GeoGebra帳號。

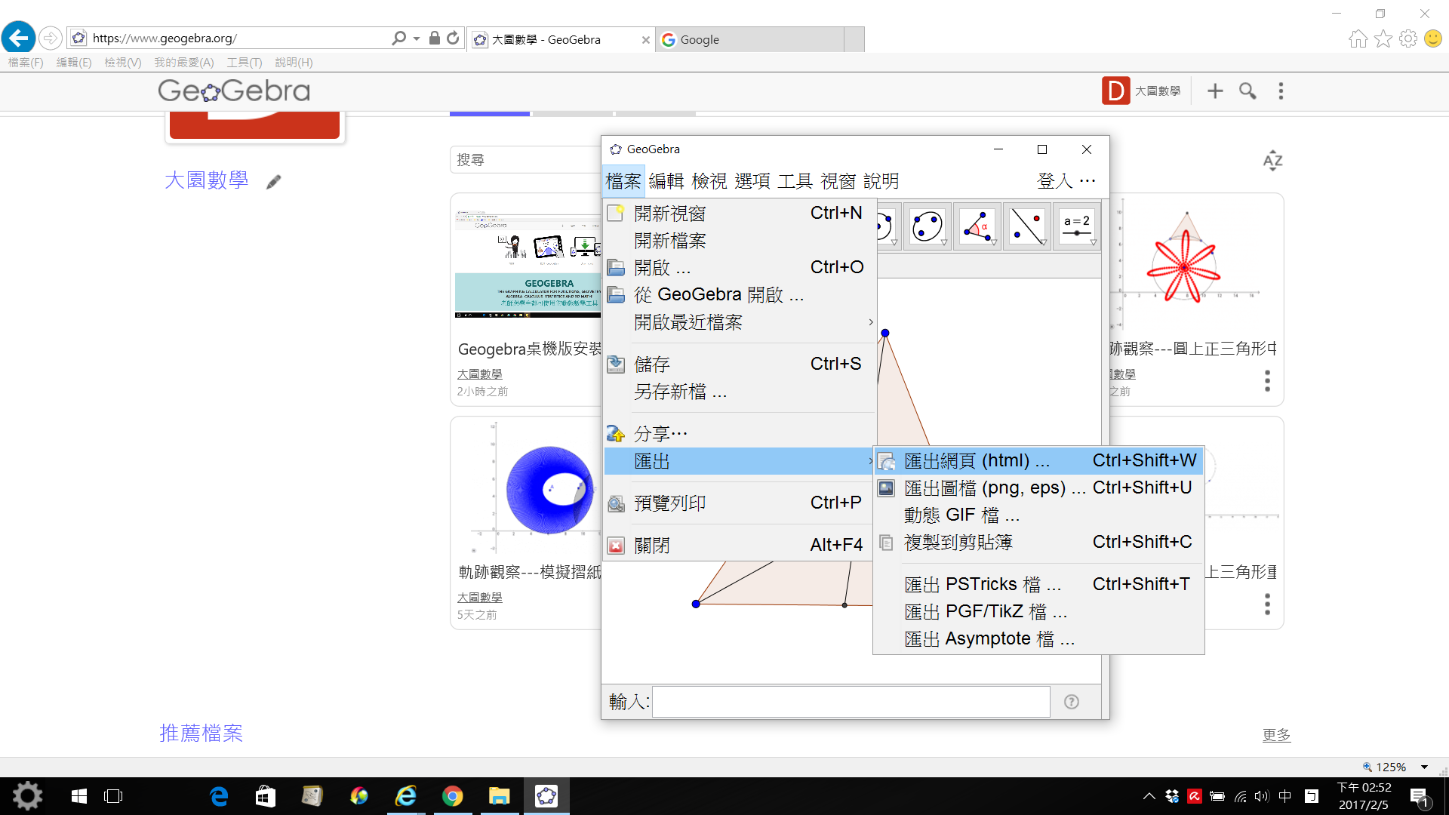
Step3: 在功能表中(檔案--->匯出--->匯出網頁(html)...)。
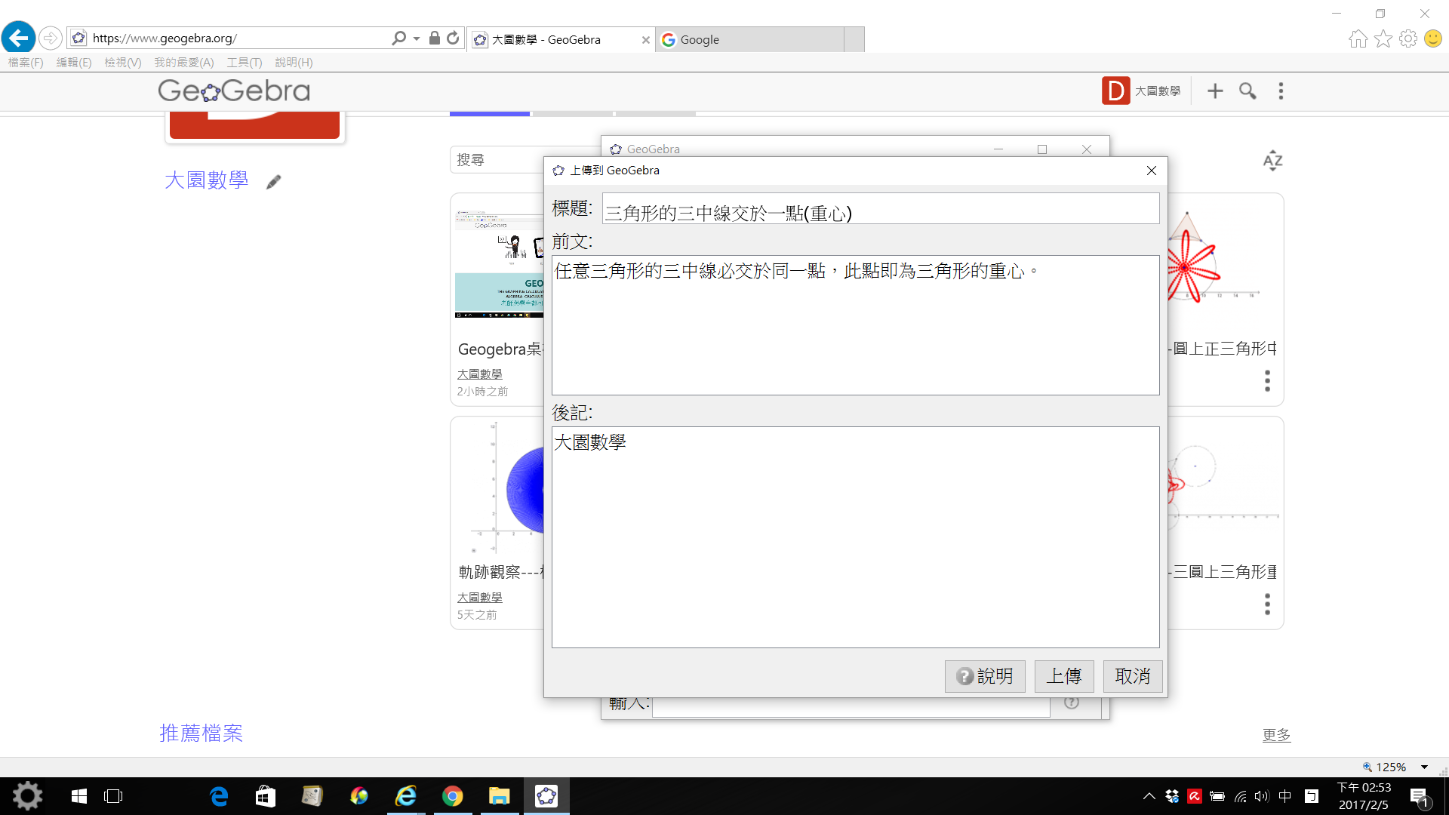
Step4: 出現"上傳到GeoGebra"畫面,輸入標題,前文,後記。
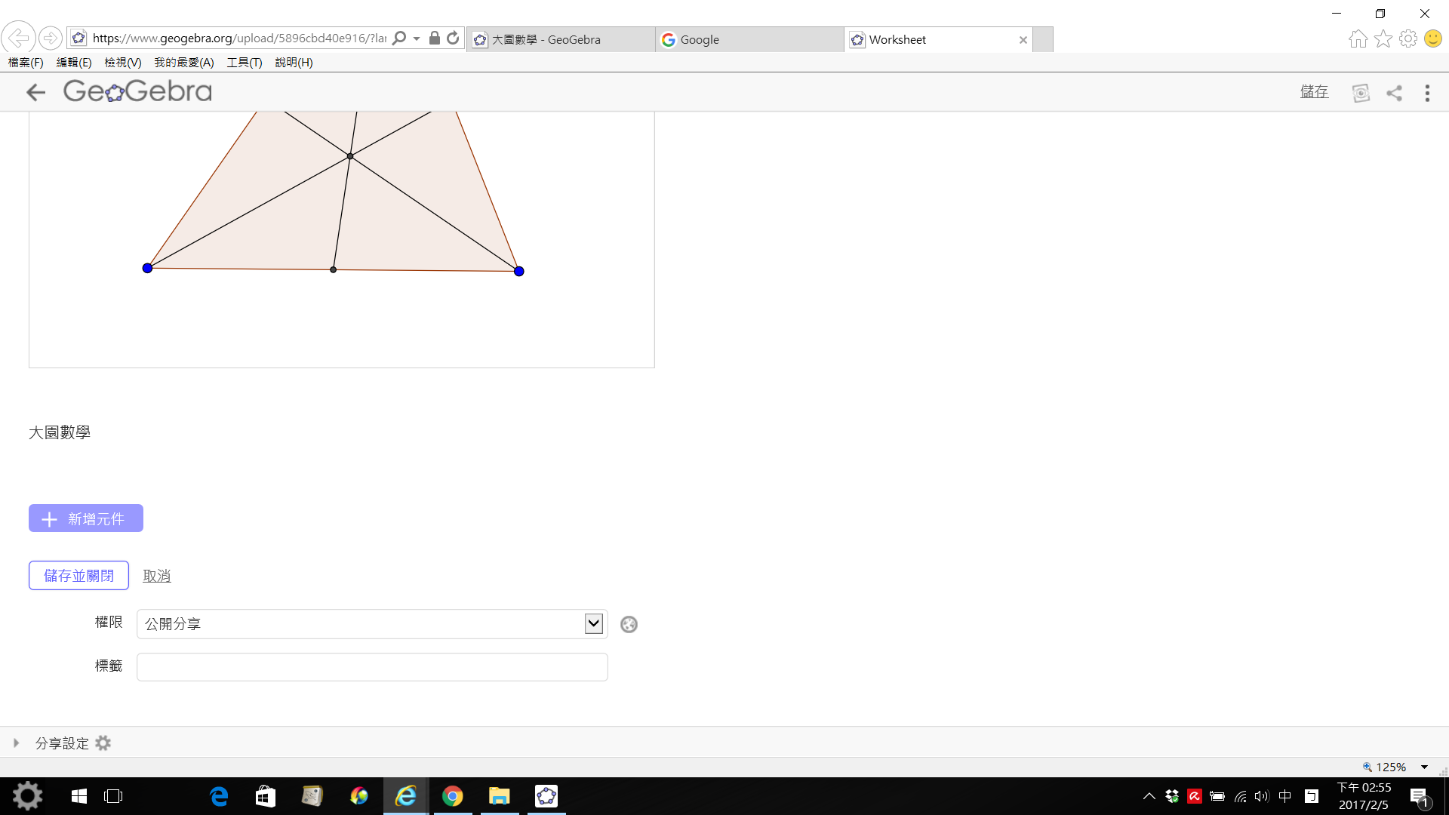
Step5: 出現網頁設定畫面(新增元件,儲存並離開,權限,分享設定。)
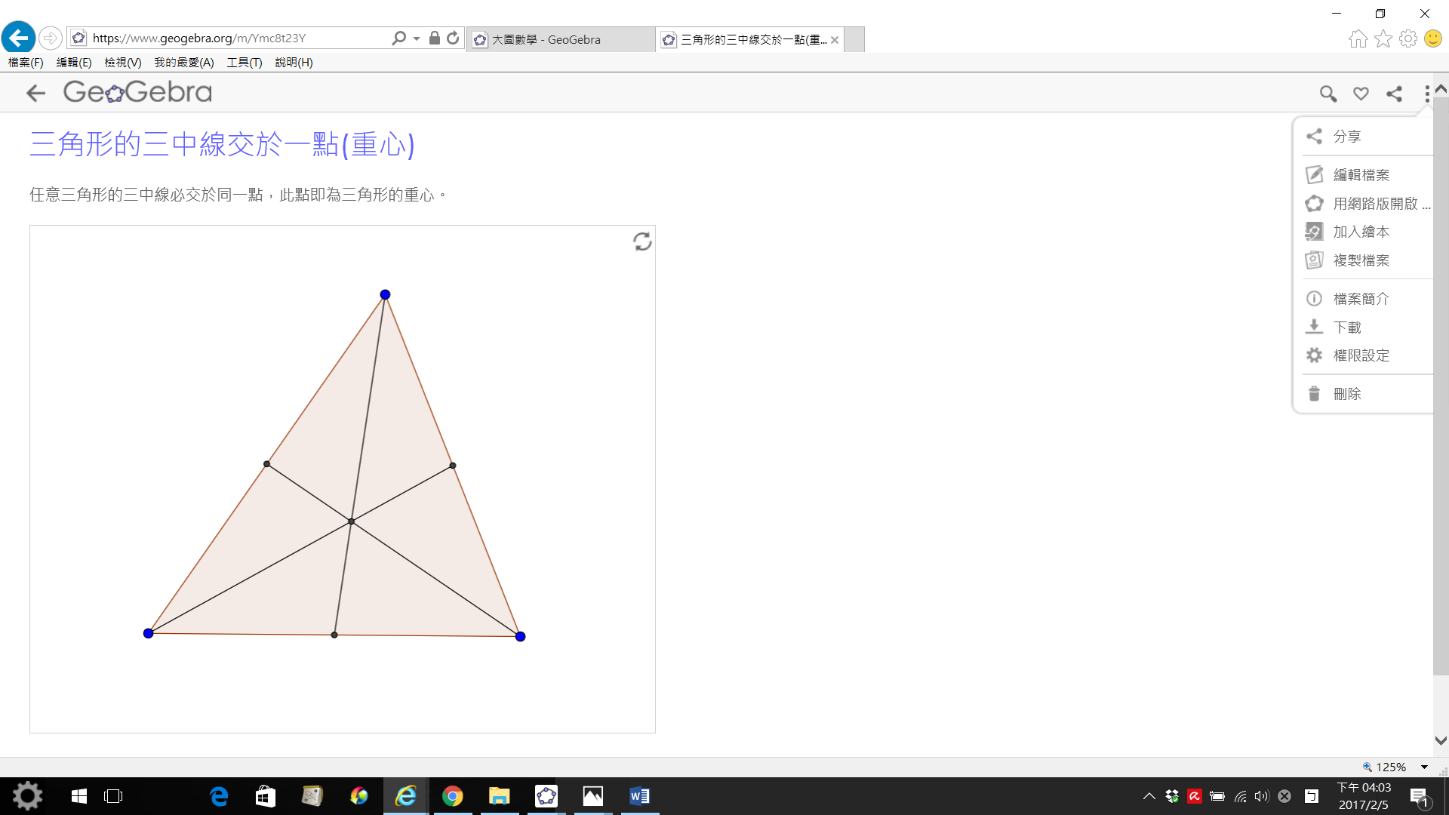
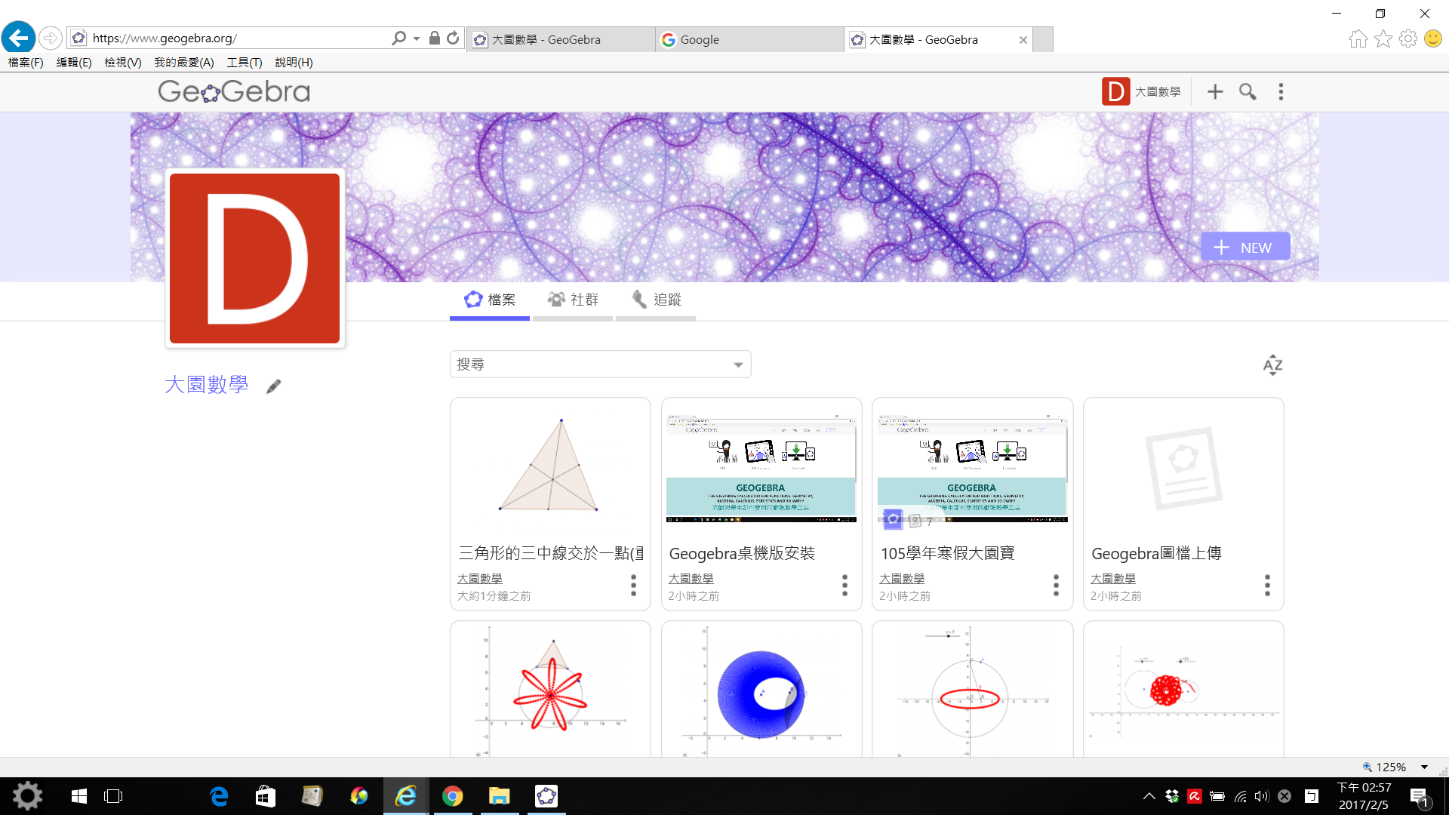
Step6: GGB圖檔上傳成功(在你的資料首頁出現圖檔縮圖)。
Step7: 網頁模式檢視GGB圖檔(右上角有加入書籤,分享檔案,編輯檔案,加入繪本,等等)