Inserting pictures
The Image tool
The  Image tool allows you to insert an image into the
  Graphics View. You can find the Image tool in the Toolbox of Special Object Tools.
Image tool allows you to insert an image into the Graphics View. You can find the Image tool in the Toolbox of Special Object Tools. 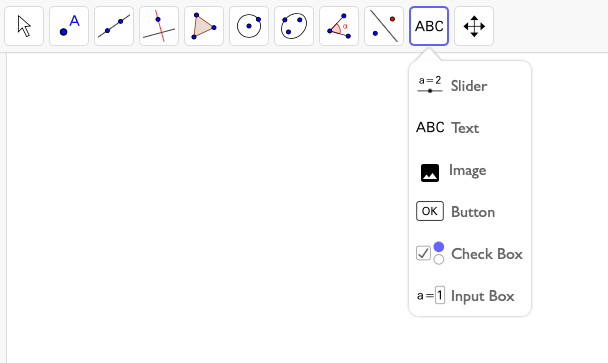
Select the Image tool which opens a dialog that allows you to select a file from your local storage.
Hint: If you don't have a suitable picture file saved on your computer, you can download our picture of the sunset before you try inserting a picture yourself.
Image tool which opens a dialog that allows you to select a file from your local storage.
Hint: If you don't have a suitable picture file saved on your computer, you can download our picture of the sunset before you try inserting a picture yourself. Instructions
Task 1: Insert an image
| 1. | 
| Activate the Image tool. Note: You will find the Image tool in the second Toolbox from the right. |
| 2. | In the appearing dialog select the desired image file and click OK to insert the image into the Graphics View. |
Task 2: Change the transparency of an inserted image
Change the Transparency of an image to see objects or axes that lie behind the image.
| 3. |  | Activate the Move tool and select the image you already inserted into the Graphics View in Task 1. |
| 4. |  | Open the Settings of the image using the |
| 5. | | Select tab Color of the  Settings. Settings. |
| 6. | | Change the Opacity of the image using the provided slider (values between 0% and 100%) |
Try it yourself...
Instructions (continued)
Task 3: Relative position on screen
The position of an image can be absolute on screen or relative to the coordinate system. You can specify this using the  Fix Object button in the picture's
  Style Bar.
Note: It's also possible to fix the image by opening the Settings and check the option Fix Object on tab Basic.
Fix Object button in the picture's | 7. |  | Use the Show / Hide Object tool to hide the two corner points of the inserted image in the Graphics View.
|
| | Note: You will find this tool in the General Tools Toolbox (last Toolbox). | |
| 8. |
| Activate the Move tool and select the image. |
| 9. | | Open the Style Bar of the Graphics View. |
| 10. |  | Use the Fix Object button to fix the image to relative position on screen.
|
Settings and check the option Fix Object on tab Basic.Task 4: Create a background image
You can use any image as a background image in the Graphics View.
Note: A background image cannot be selected in the Graphics View anymore. If you want to change the style or status of a background image, you need to do the following:
Graphics View.
| 11. | | Activate the Move tool and select the inserted image in the Graphics View. |
| 12. | | Open the Settings of the image by using the |
| 13. | | On tab Basic, check the option Background Image. |
Graphics View anymore. If you want to change the style or status of a background image, you need to do the following:
| 14. |  | Open the  Algebra View from the View menu. Algebra View from the View menu. |
| 15. | | Display the Auxiliary Objects using the Settings in the Algebra View Style Bar. |
| 16. |  | Select the image in the Algebra View. |
| 17. | | Open the Settings of the image by using the Style Bar button. |
| 18. | | On tab Basic, you may uncheck the option Background Image. |